I have a story to tell. It does not involve politics or what politics is doing to my life (that would be a much longer, more painful story). It does involve being creative, trying new things and living with challenges.
In May of 2025 while attending a weaving class at Vavstuga, I caught the DRAWLOOM bug. I didn’t mean to catch this bug, but the idea of separating the background cloth/design from the shapes or pattern of cloth, was intriguing.
What did I do with this passion? I signed up for the Drawlom ABC Class at Vavstuga and then started looking for ways to turn my Glimakra Ideal into a drawloom! I managed to find someone who wanted to part with their drawloom attachment (and extension – to make the loom deeper and more able to handle becoming a 2 harness drawloom) for an ok price and hubby and I drove to Virginia to pick up the goods!
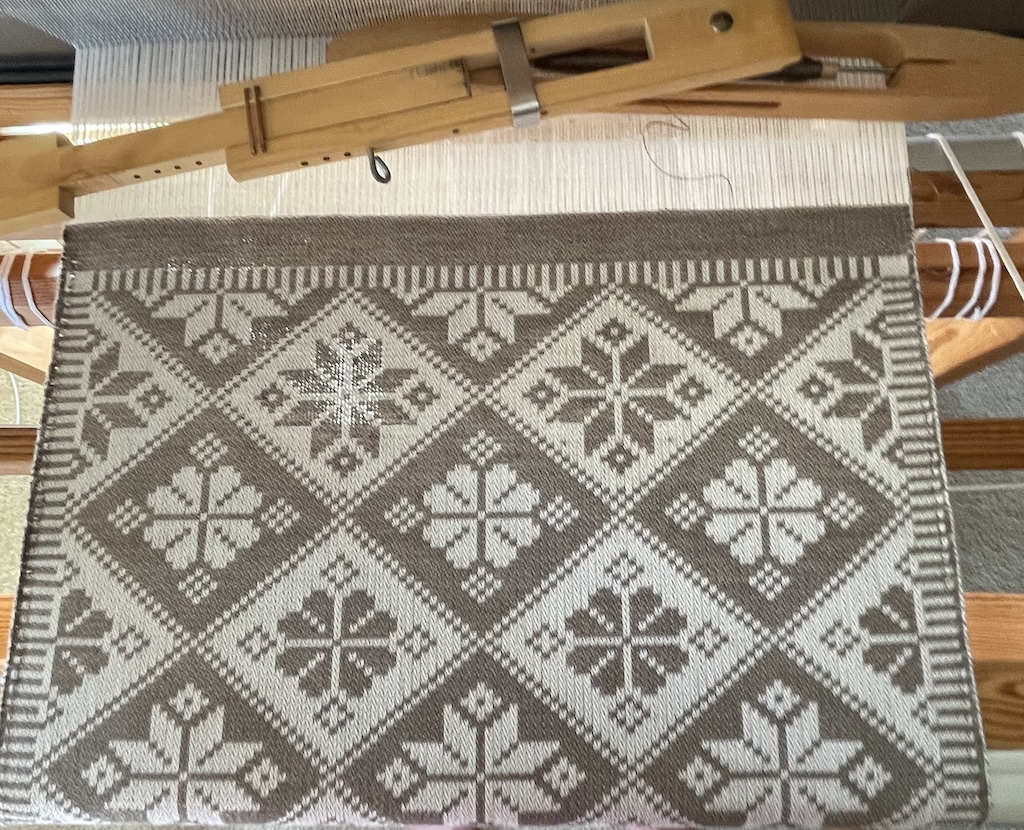
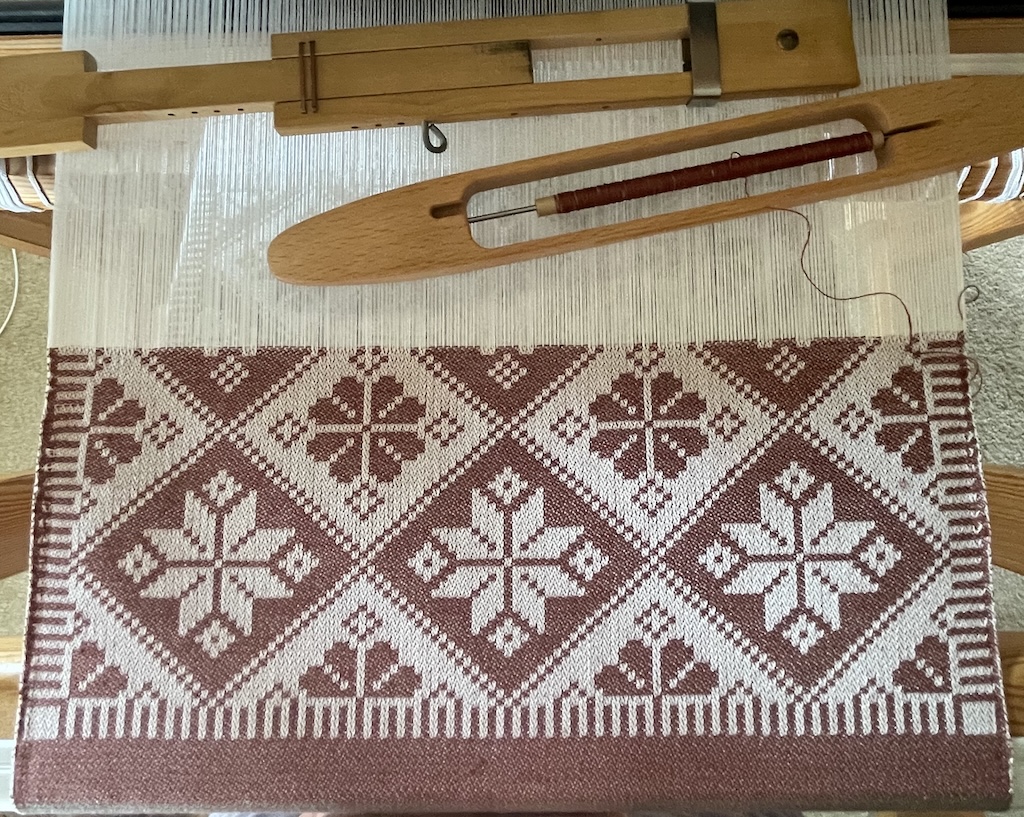
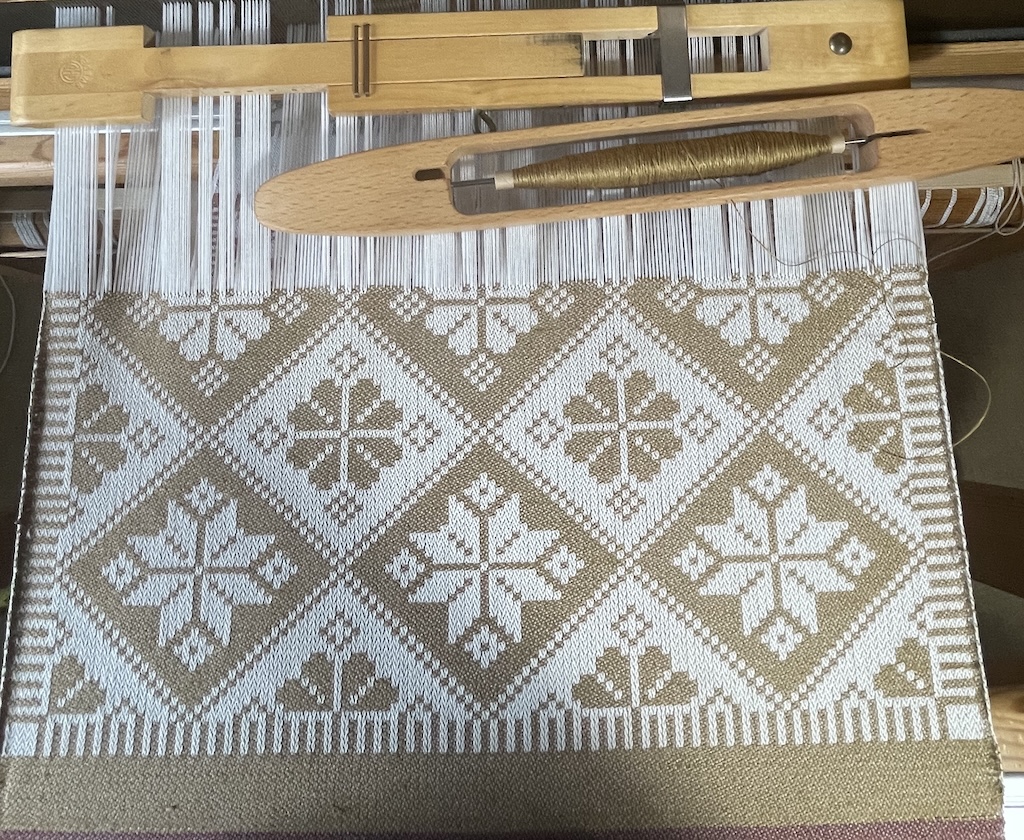
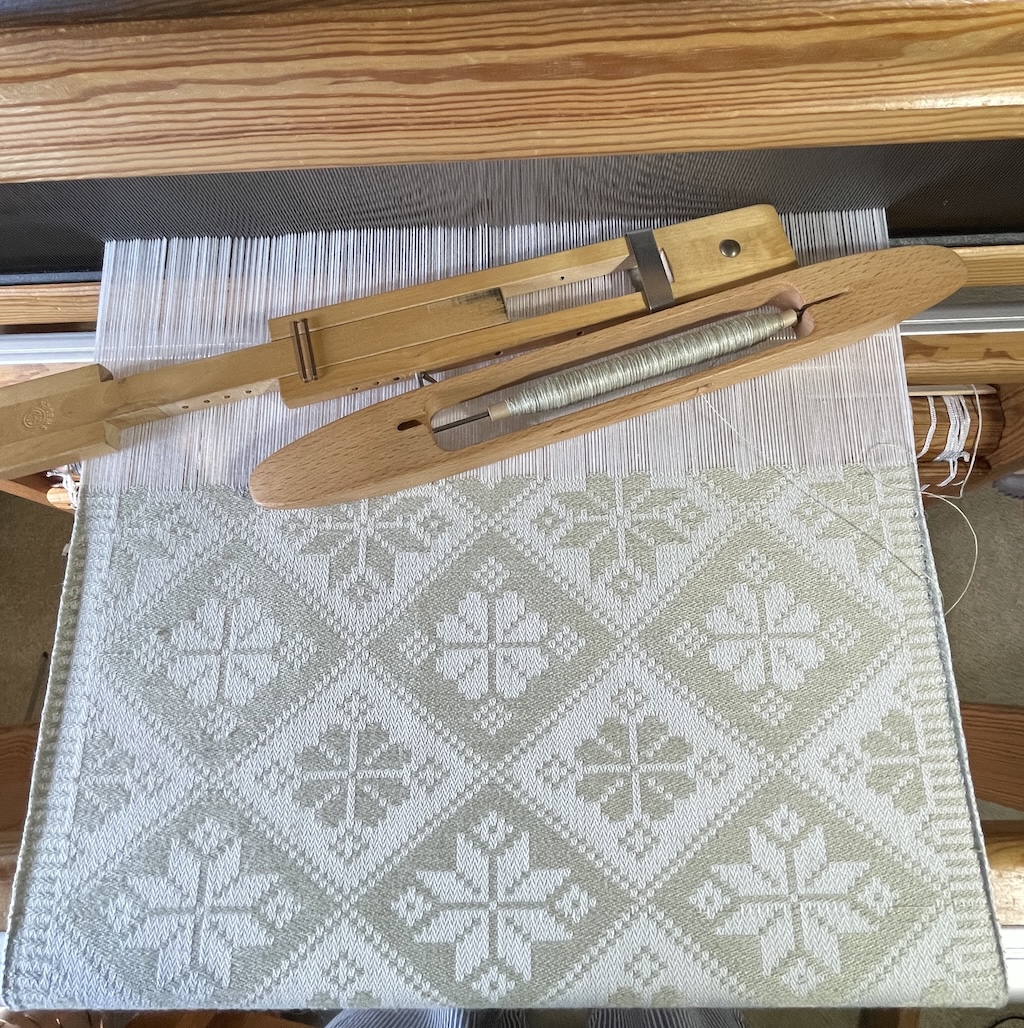
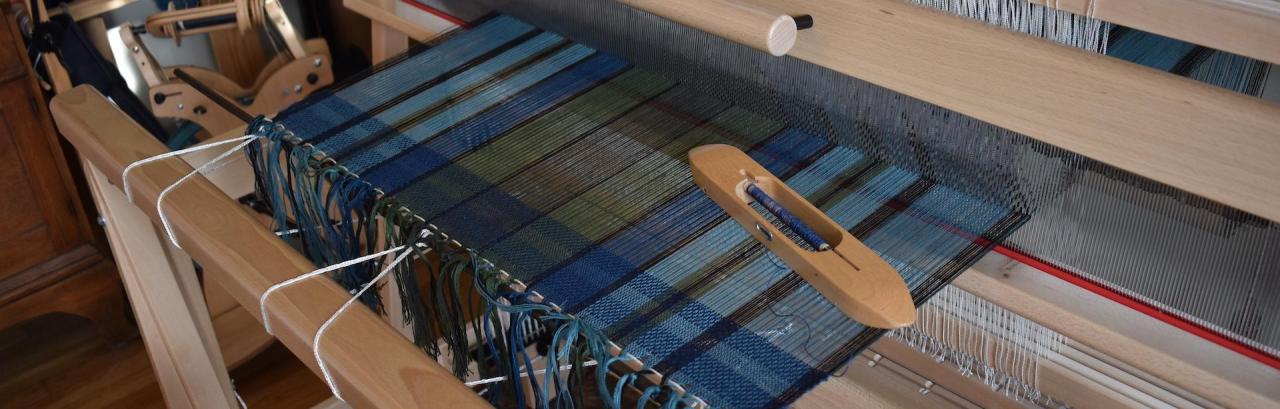
So my Glimakra Ideal, named Cindy Lou Who, became Cindy Lou Who PLUS, and before my class I tried out a project designed by Amy Blair of Duelling Rabbits Handweaving, to build confidence! The ground (background) cloth was a 4 shaft broken twill and the patterns (of which there were infinite possibilities – just grab some graph paper and design whatever you like) were made possible through the use of 10 pattern shafts.
There have been a few hiccups. My Hubby had to have surgery in November 2025 and he had a long recovery (3 months) where he was not allowed any heavy lifting. I already had the parts I needed, so between chores and as he felt better, we put together the loom/drawloom. I finished my “Table Mats” before my class in May, and hubby was all better, so things were looking up. I had a marvelous time at Vavstuga and couldn’t wait to get home and start the Napkins I had designed before coming to class. The day after I got back, Hubby had a small stroke, but it seriously compromised his balance, so I was back at the heavy lifting again.
It’s amazing what you can do when you have to do it. I was actually keeping up physically with doing his chores and mine! Adrenalin is a wonderful drug! As he started to get better and I started to relax, I found I was left with a lot of pain in my lower back. Finally, I sought out advice from a specialist. Turned out I have degenerative disc disease, and I’ve had it for a while now.
What do you do at 69 when you find you have a grand passion for a style of weaving that has infinite creative possibilities and you are suddenly hampered by pain??? Luckily, after a car accident (2 years ago) that resulted in a compression fracture of one of my vertebrae, I replaced my looms with Swedish countermarch (for those who HAVE to know) looms. I can weave at a countermarch loom all day. They are pretty easy (and ergonomic to set up, I just need to do it at a slower pace), and USED, they are pretty cheap. So Suzie Q, a 110 cm Glimakra Standard is squatting in the dining room, waiting to become a drawloom as well.
Oh? The pain? Yeah, it’s a bummer. I go to PT twice a week and get spinal decompression. I go to Jessica (Cuyahoga Chiropractic) twice a week and she gently nudges, pokes and prods my nervous system to move towards a more healthy and painfree space, I do Yoga and Tai chi EVERY day and take 2 dog walks per day. I see the lovely Susan Deng East Earth Corporation for acupuncture every 2-3 weeks (I swear she could cure a cloudy day). When all else fails, 600 mg of ibuprofen or 200 mg extra strength Tylenol, oh and my PEMF mat (which REALLY honest to goodness works for pain).
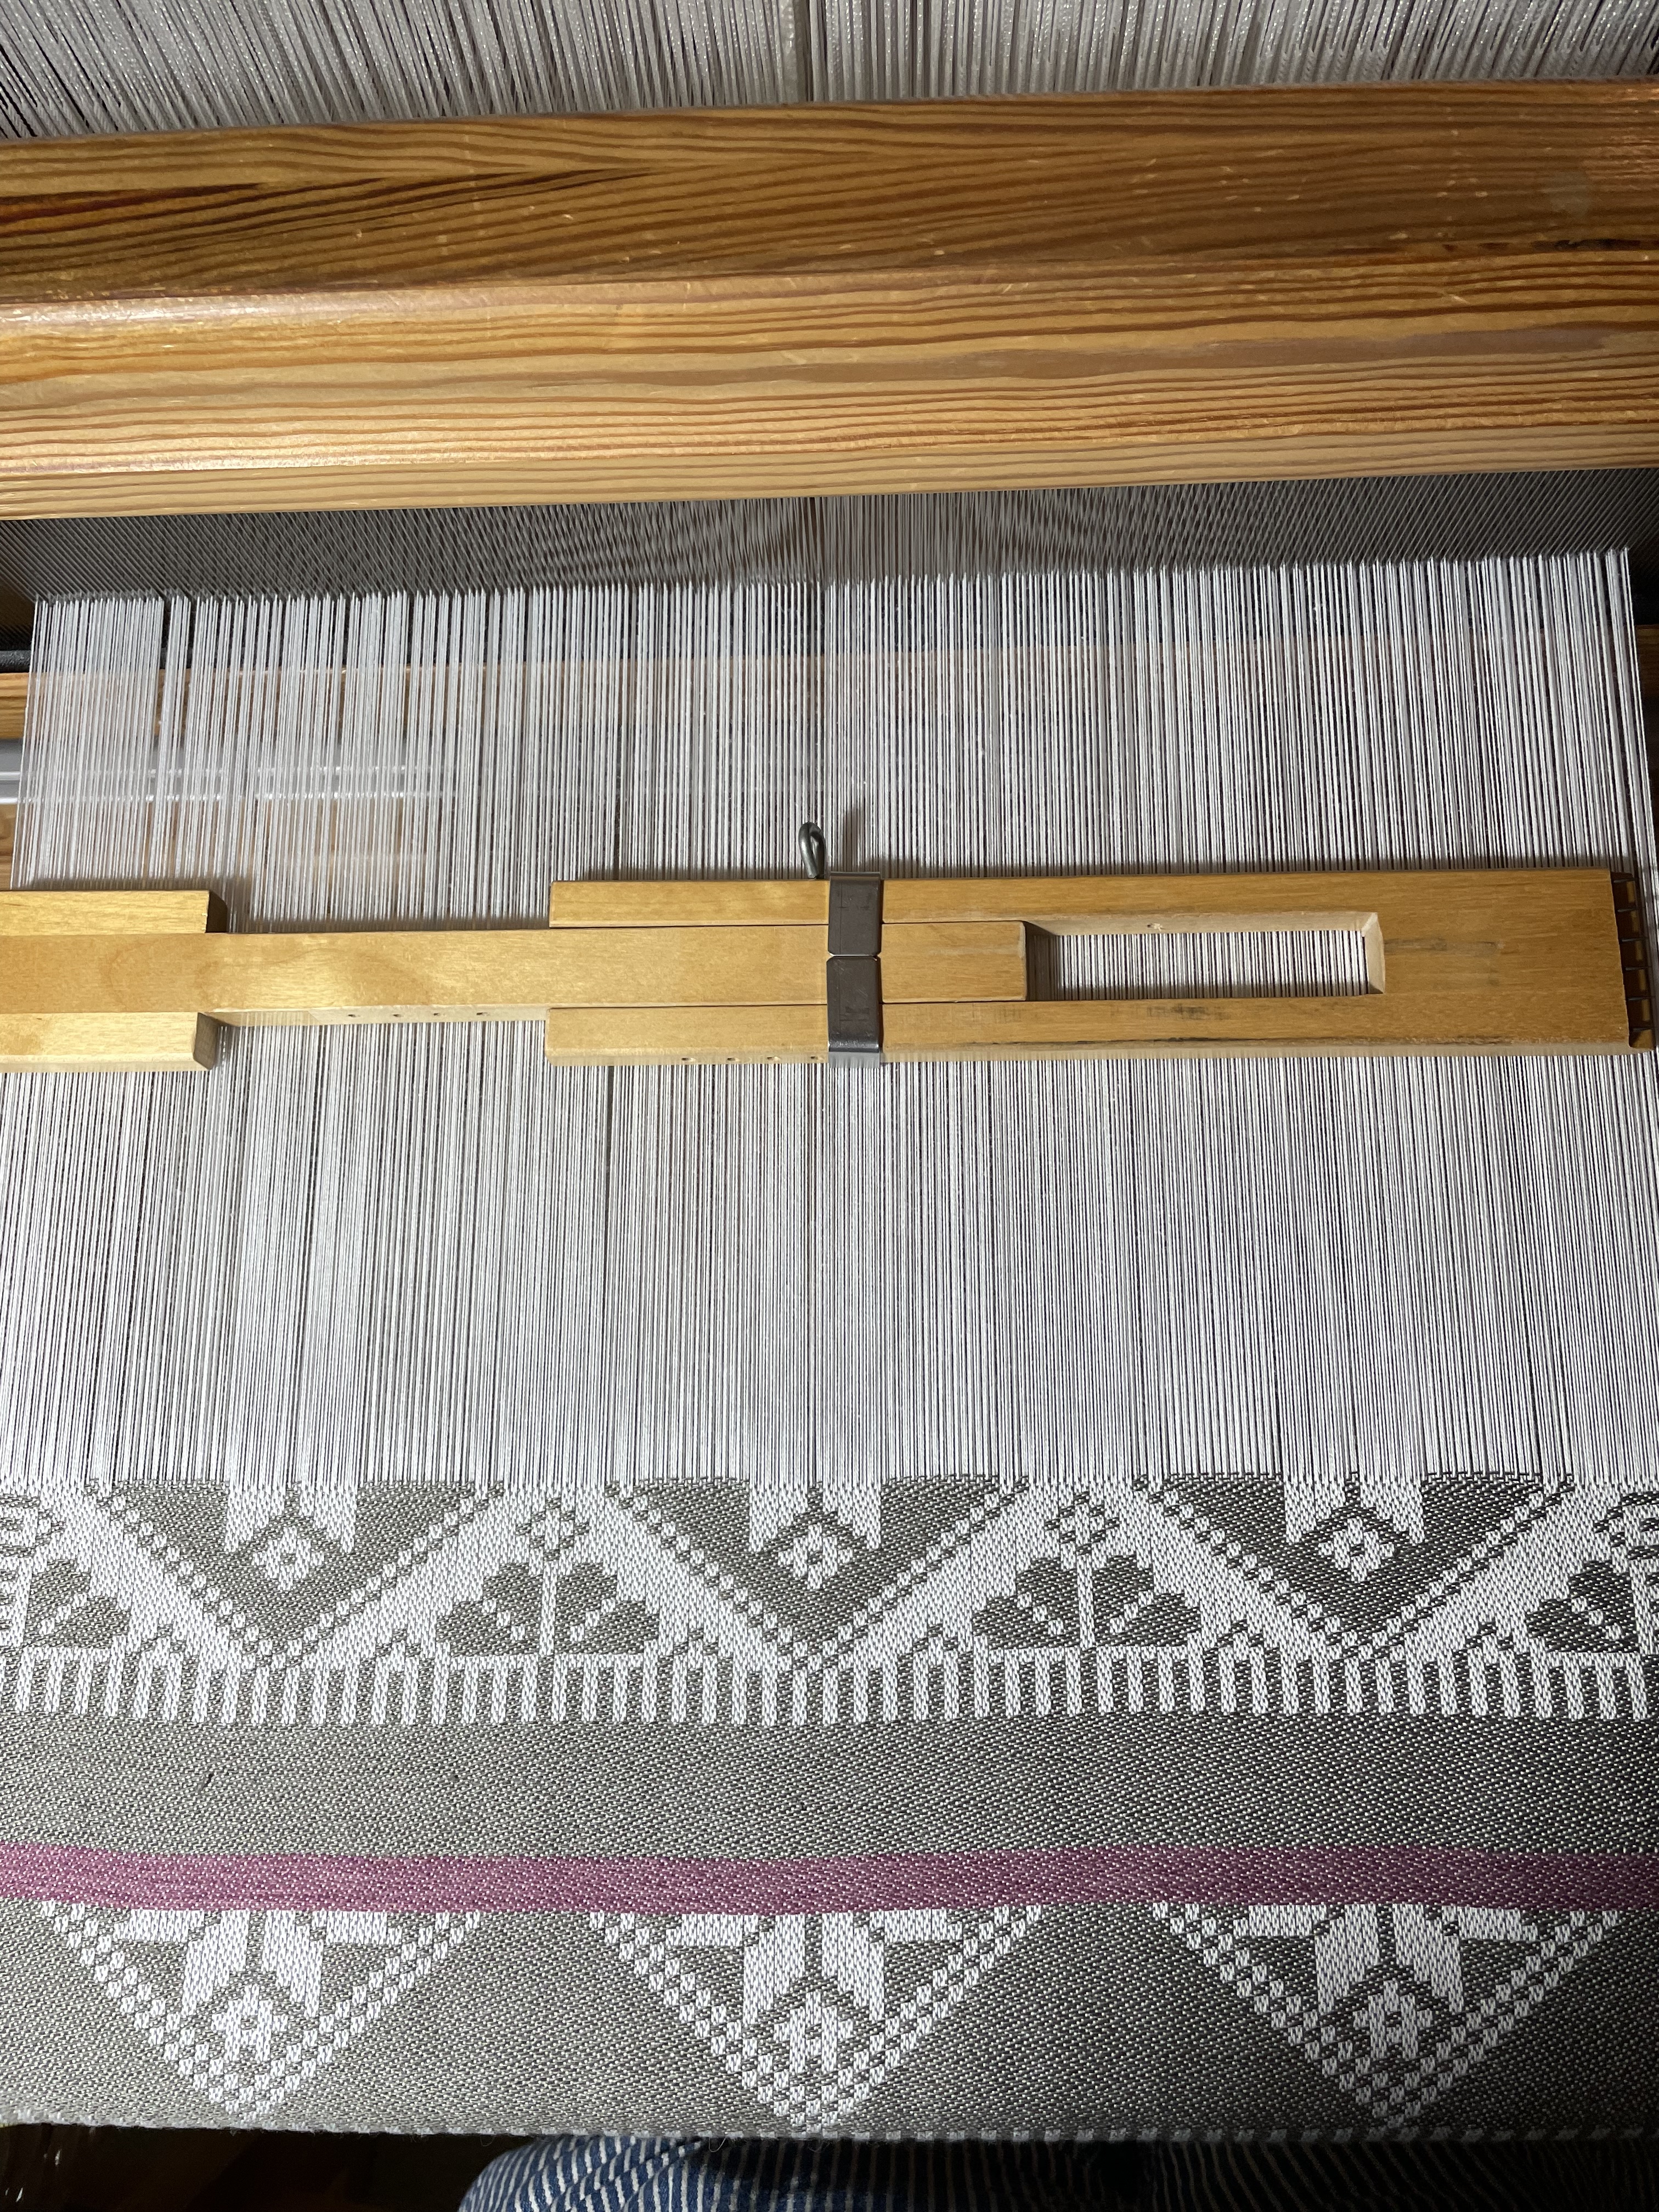
So why am I telling this story?? BECAUSE you need to know the back story to understand how very grateful, happy, and THRILLED I am that I dressed my little drawloom, adjusted it (took 2 tries to get it right) and now can weave the most beautiful cotton/linen napkins you’ve ever seen!
The moral of the story? “NEVER GIVE UP, NEVER SURRENDER”. And THAT works for lots of other things too.
BELOW -- for those transitioning from regular weaving to drawloom weaving
HOPE that I do inspire current and future Drawloom Weavers. Really, it is not as hard as it seems. The process of setting up the loom is a little longer, but well worth the effort. I try not to think too far into the future and to find a way (and I do) to enjoy the process.
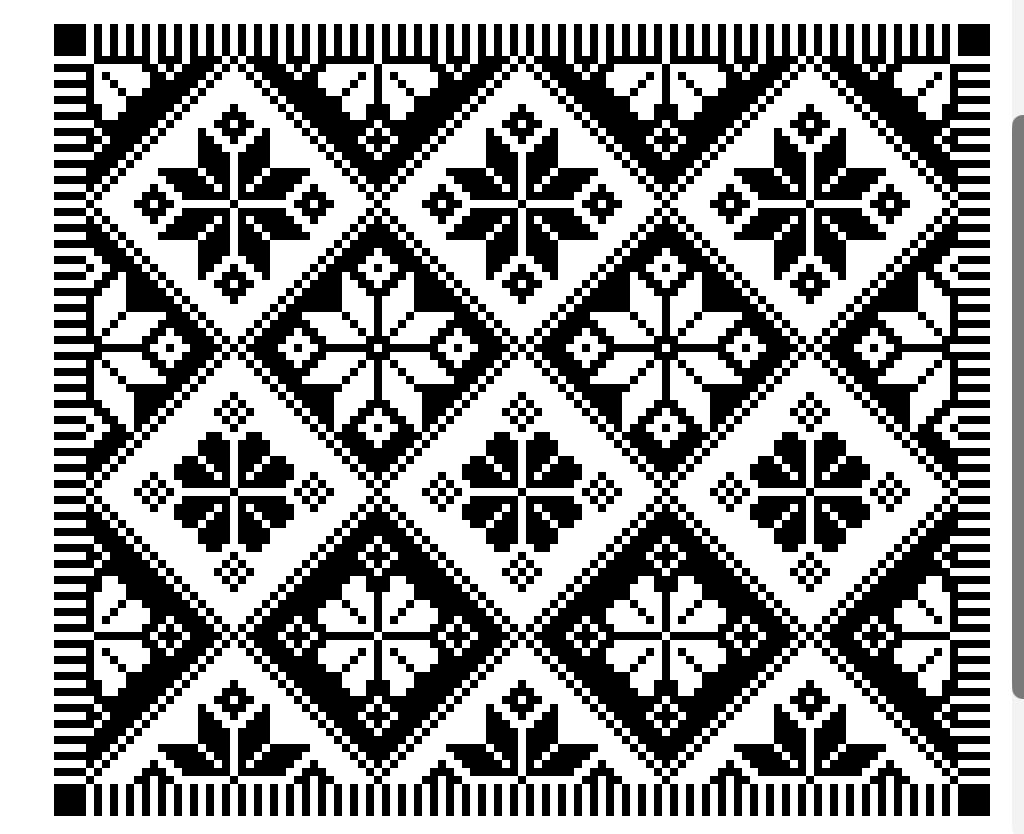
Here is how I break it all down.
- Spend a little time figuring out your project. If you want a highly successful and satisfying project try Amy Blair at Dueling Rabbits: Table Mats Recipe which you can find on her youTube channel. https://www.youtube.com/watch?v=ifk_kg__XNE&t=152s
- Wind the warp. You KNOW that I have back issues, so warping boards just don’t work for me any longer. I have Vavstuga’s designed narrow warping mill and it is a dream to use. WORTH EVERY PENNY. I have tried other warping mills, including table top, and this one is the cream of the crop. https://store.vavstuga.com/product/vavstuga-warp-mill.html
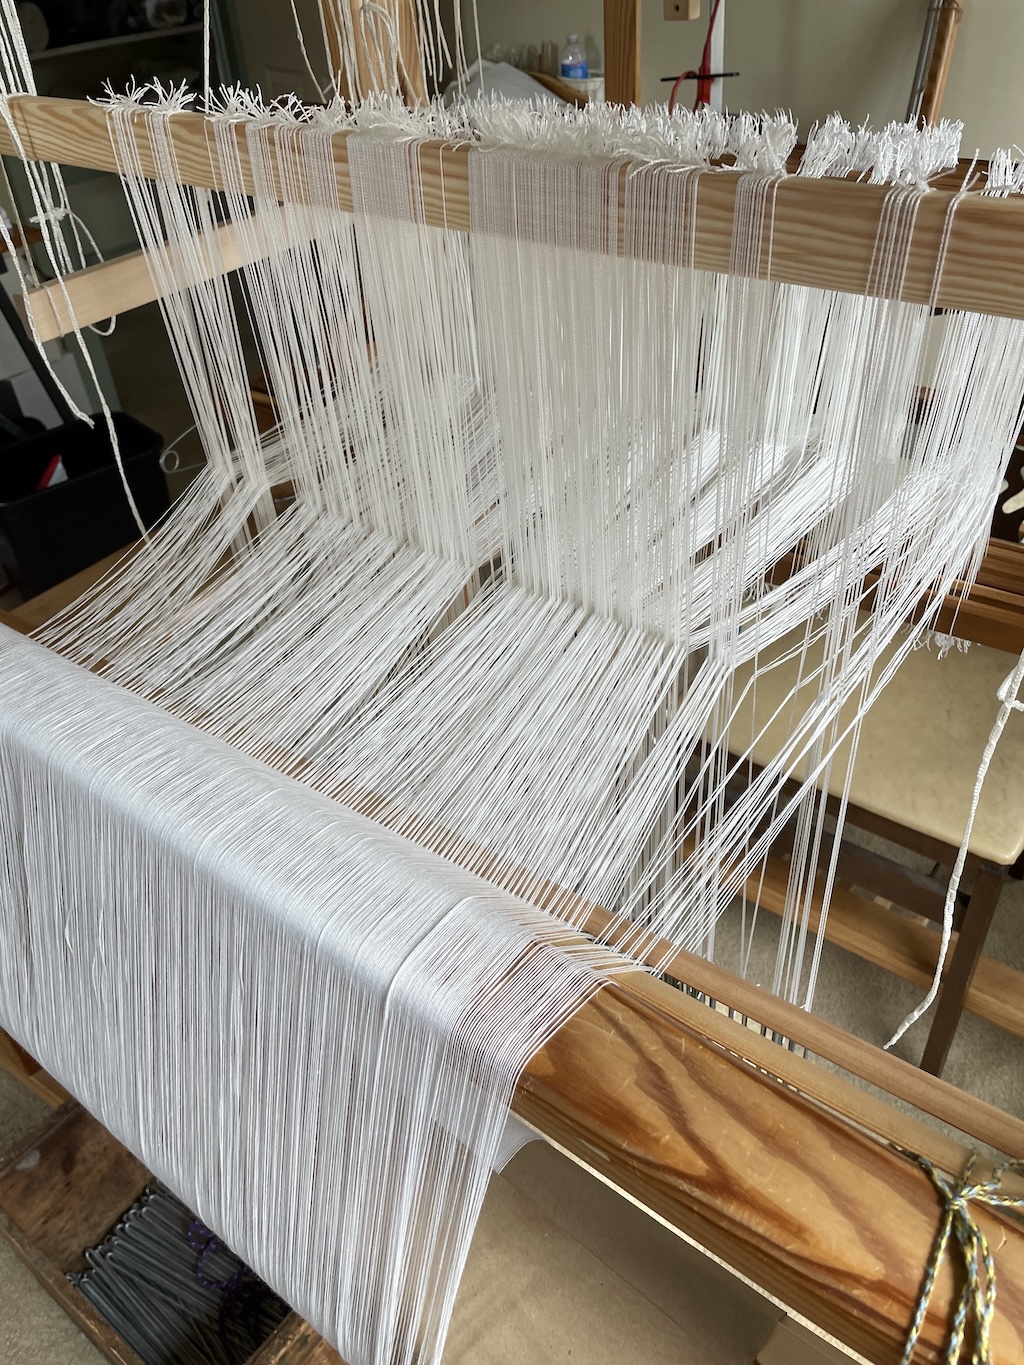
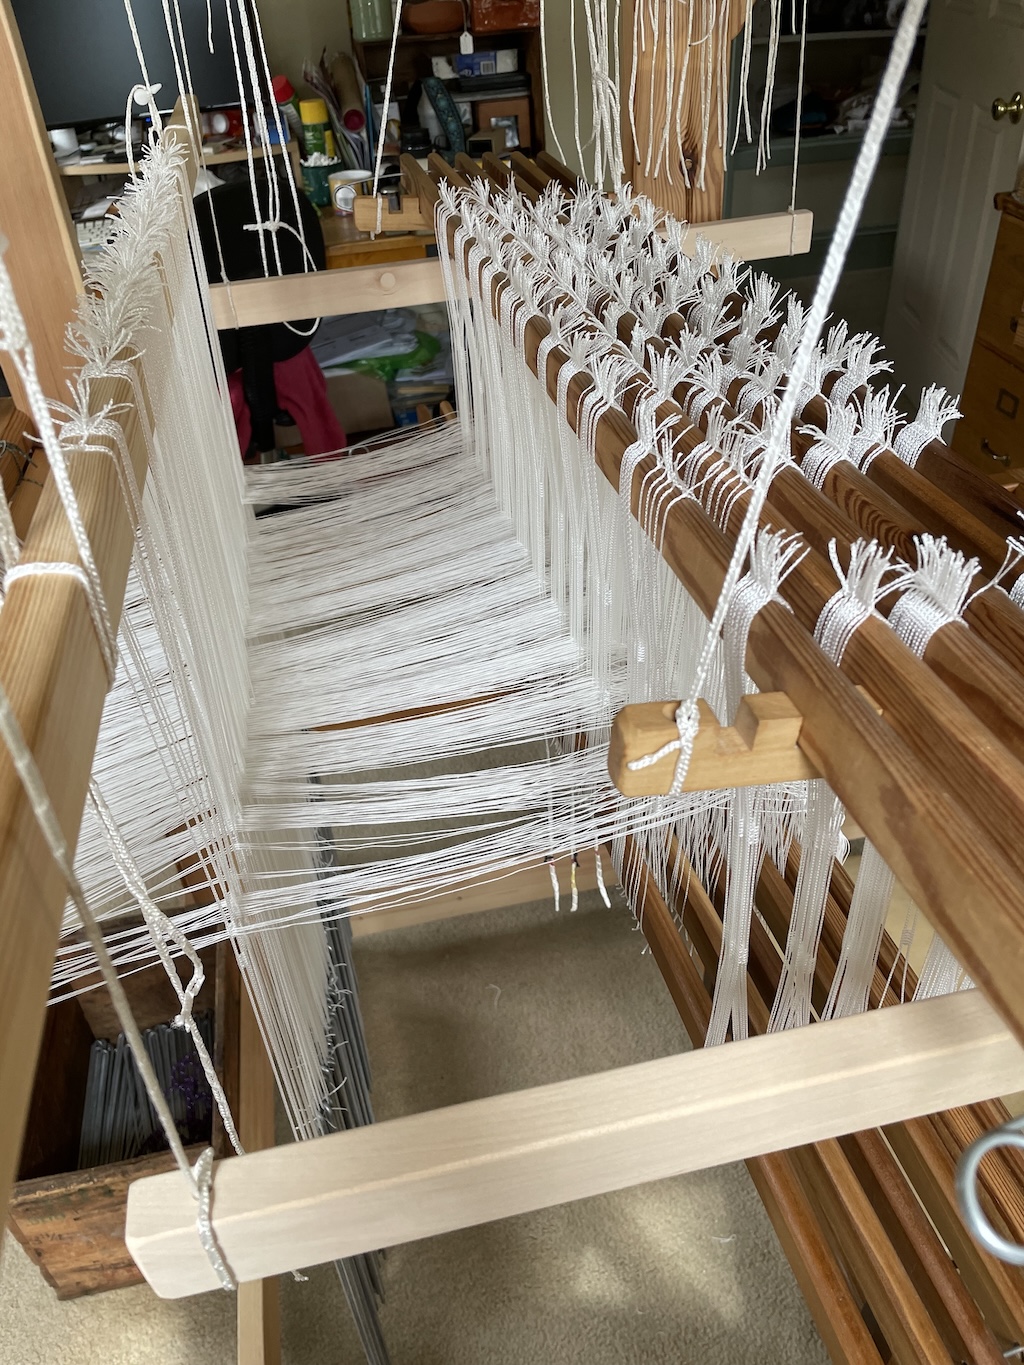
- Count out the lingos (twice) for the number of leashes that you will have and decide how you want to thread them. The first time I used 1 pattern heddle per string. I won’t do that again, when it comes time to distribute your pattern leashes, it can get confusing. Next time I’ll use 2 heddles and put 2 strings in the ladder above the eye. This current project has 2 pattern heddles per leash with 3 ends in the ladder above the eye. I used a crochet hook to thread them. Once a rhythm is established it works great. Once you have set up all your leashes on the heddling bar at the back of the loom, you can start threading. I enjoy listening to an audio book while doing this, and I drink water and take plenty of breaks.
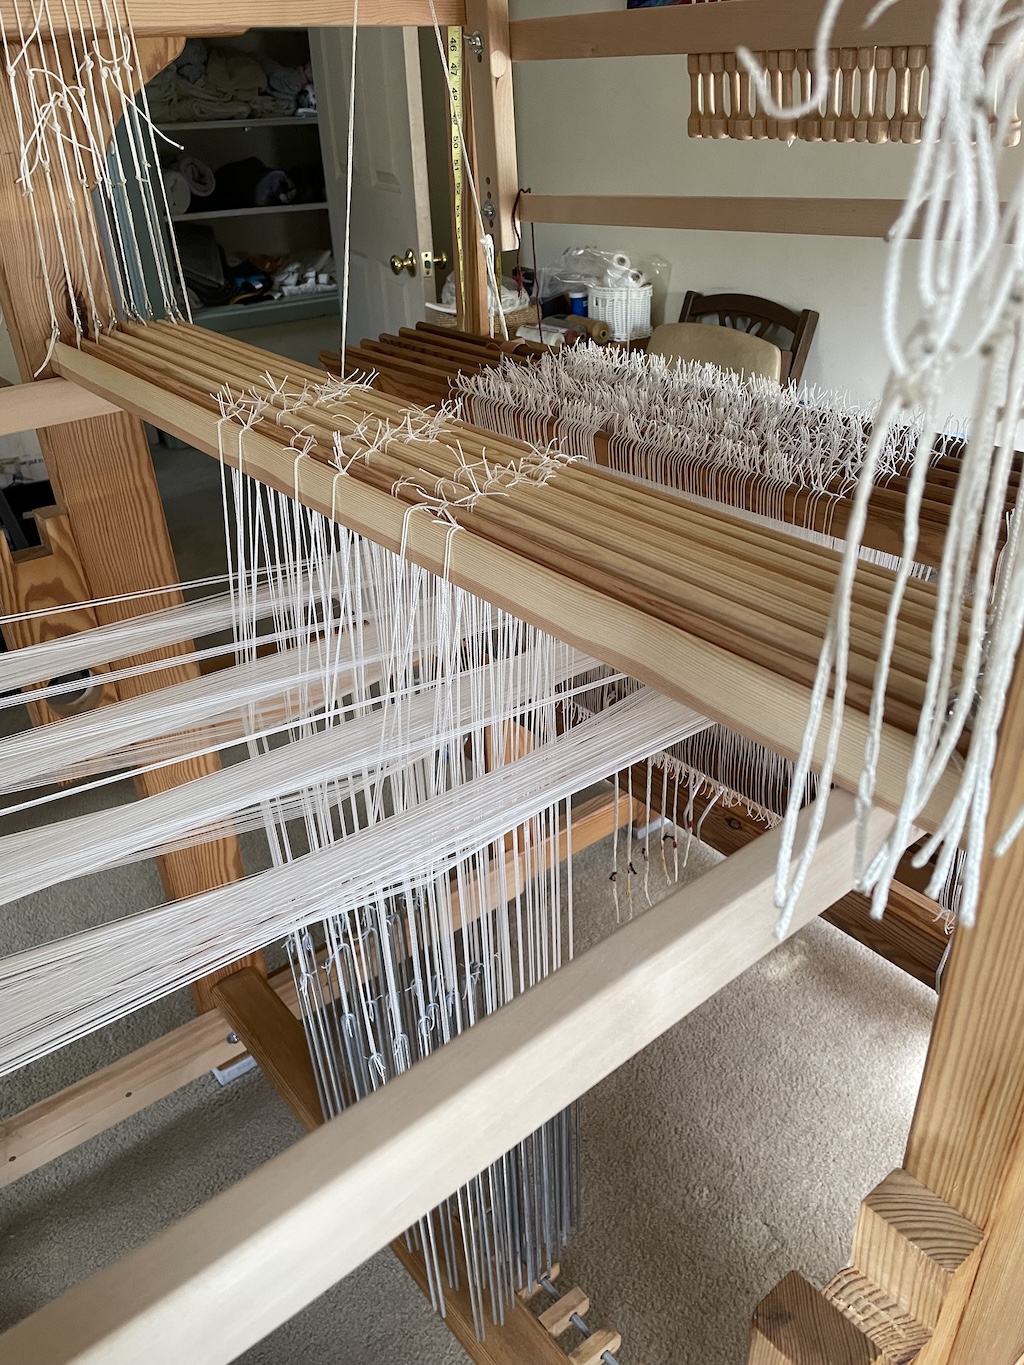
- Set up the ground shafts and push them to the back just in front of the heddling bar and start threading. It’s a straight threading and pretty easy to do, so more audio book! Music is also nice -- I prefer Loreena Mckennett, who was born in the same year as me!
- While still working at the back of the loom, I set up the reed on texsolv hangers and sley it!
- Now the tricky part, the reed and the ground shafts have to be coerced to the front of the loom and the reed set in the beater bar. My Ideal is set up as a shaft loom and I just leave the drawbridge on top. I don’t have any place (GOOD) to store it, so I just leave it there with all the strings and handles set up.
- Once the reed is set in the beater bar, tie on as normal.
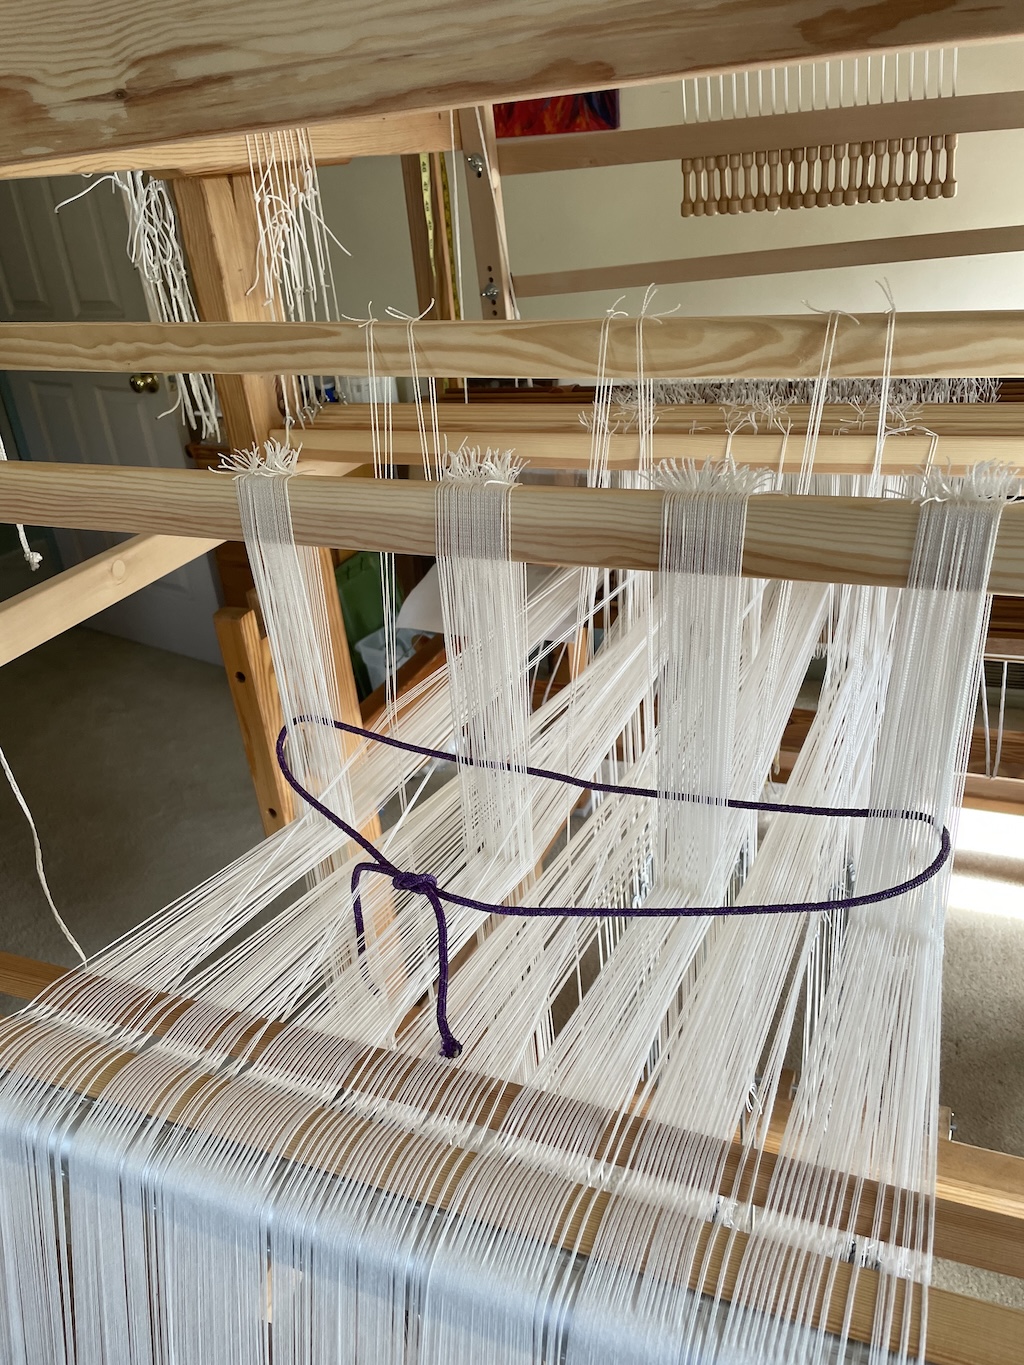
- Now go back to the back of the loom and distribute the pattern shafts according to your plan. I have used the carabiner method at Vavstuga, but haven’t purchased any for myself, so for now I do 2 pattern shafts, then switch the heddling bar, then hang those 2 shafts AND repeat. Taking lots of breaks from standing and reaching. I like to use a COLORED cord while selecting leashes, cause it is easier to see if I’ve skipped any.
- Check the heights of EVERYTHING (back beam 3” above height of front beam, pattern shaft support 7” above height of front beam, ground shafts 5.5” above front beam, guide string goes through middle of shed created by lifting pattern shafts) Then proceed to check ground sheds and then check ground + pattern sheds.
#3, #6, #8 and parts of #9 are additional steps
I take my time, I don’t work ALL day, I NEVER work at this stuff in the evening -- mornings are best for tricky stuff! It is so worth the effort and you just have to concentrate on ONE STEP at a time.